Customize Consent Preferences

We use cookies to help you navigate efficiently and perform certain functions. You will find detailed information about all cookies under each consent category below.

The cookies that are categorized as "Necessary" are stored on your browser as they are essential for enabling the basic functionalities of the site. ... 

Always Active

Necessary cookies are required to enable the basic features of this site, such as providing secure log-in or adjusting your consent preferences. These cookies do not store any personally identifiable data.

No cookies to display.

Functional cookies help perform certain functionalities like sharing the content of the website on social media platforms, collecting feedback, and other third-party features.

No cookies to display.

Analytical cookies are used to understand how visitors interact with the website. These cookies help provide information on metrics such as the number of visitors, bounce rate, traffic source, etc.

No cookies to display.

Performance cookies are used to understand and analyze the key performance indexes of the website which helps in delivering a better user experience for the visitors.

No cookies to display.

Advertisement cookies are used to provide visitors with customized advertisements based on the pages you visited previously and to analyze the effectiveness of the ad campaigns.

No cookies to display.

โฮสติ้ง 50GB 500 บาท โดเมน 350 บาท ติดตั้ง Wordpress ฟรี

สิ่งแรกที่เราควรทำหลังติดตั้ง WordPress

ภาพประกอบสิ่งที่ควรทำหลังติดตั้ง WordPress

สิ่งแรกเลยที่เราควรทำทันทีหลังจากติดตั้ง WordPress ไปแล้วก็คือ การสร้างชื่อเล่นให้กับ User admin ดูแลระบบ เพื่อซ่อนชื่อจากผู้ไม่หวังดี หรือแฮคเกอร์ที่ต้องการเจาะเข้ามาในเว็บไซต์ของเรา โดยปกติเมื่อติดตั้ง WordPress เสร็จใหม่ๆ ระบบจะแสดงชื่อผู้เขียนบทความเป็นชื่อของ admin โดยอัตโนมัติ ดังตัวอย่างด้านล่างนี้ จะแสดงชื่อ user ชื่อ exampleadmin เป็นคนเขียนบทความ ซึ่งทำให้แฮคเกอร์ทราบโดยทันทีว่า user admin ของเว็บไซต์ชื่อว่าอะไรโดยไม่ต้องคาดเดา

รูปภาพแสดงตัวอย่างหน้าจอ ที่แสดงชื่อ admin ผู้เขียนบทความ

ดังนั้นเราจะต้องทำการกำหนดชื่อเล่นของ admin ขึ้นมา แล้วเอาชื่อเล่นนั้น มาแสดงแทนชื่อ admin เดิมนั่นเอง ทำให้ผู้อ่านไม่สามารถทราบชื่อที่แท้จริงของ Admin ระบบได้

วิธีการตั้งชื่อเล่นให้กับ User admin ระบบ

ขั้นตอนที่ 1 ให้เรา Login เข้าสู่ระบบหลังบ้านก่อน
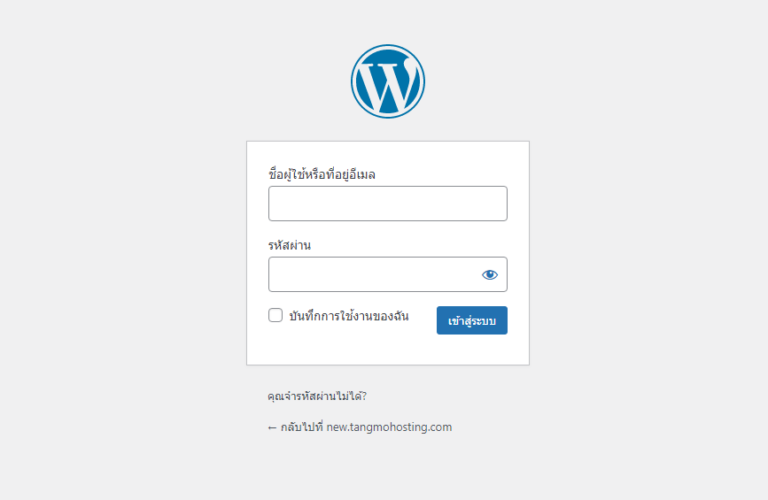
ทำการ login เข้าระบบหลังบ้าน

ขั้นตอนที่ 2 ไปที่เมนูผู้ใช้ > ผู้ใช้ทั้งหมด

เมนูผู้ใช้

ขั้นตอนที่ 3 คลิกเลือกที่ชื่อ Admin ของเรา

เลือกชื่อ admin

ขั้นตอนที่ 4 เลื่อนลงไปที่หัวข้อ ชื่อเล่น 

เลื่อนไปที่หัวข้อชื่อเล่น

ขั้นตอนที่ 5 ตั้งชื่อเล่นใหม่ตามต้องการ ในตัวอย่างตั้งเป็น iamadmin

ตั้งชื่อเล่นใหม่ตามต้องการ

ขั้นตอนที่ 6 จากนี้ที่หัวข้อ “ชื่อที่แสดงให้คนทั่วไปเห็น” ให้เลือกเป็นชื่อเล่นใหม่ที่เราพึ่งตั้งไป

เลือชื่อที่แสดงให้คนทั่วไปเห็น เป็นชื่อเล่นใหม่ที่เราตั้งไป

ขั้นตอนที่ 7 เสร็จแล้วคลิกที่ปุ่ม “อัพเดตผู้ใช้”

คลิกปุ่มอัพเดตผู้ใช้

เพียงเท่านี้ก็เป็นอันเสร็จเรียบร้อยครับ ชื่อที่จะแสดงใต้บทความ ก็จะเป็นชื่อเล่นที่เราตั้งไว้ ก็จะช่วยเพิ่มความปลอดภัยให้กับเว็บไซต์ของเราได้ระดับหนึ่ง ซึ่งถือเป็นความปลอดภัยขึ้นพื้นฐานที่เราควรจะทราบไว้ครับ

ชื่อเล่นจะถูกนำไปแสดงแทนชื่อจริงของผู้ดูแลระบบ

สำหรับท่านที่กำลังมองหา Hosting สำหรับ WordPress แตงโมงโฮสติ้งของเรามีแพคเกจที่ให้พื้นที่สูงถึง 30GB ในราคาเพียง 500 บาทต่อปีเท่านั้น